Introduction: Today we will be looking at, how to control the brightness of an LED using a potentiometer and an Arduino board. To do this we need to know as a concept called pulse width modulation or PWM. Pulse width modulation (PWM) is essentially a type of digital signal. It has been used in many different applications from dimming an LED to motor control (where my int rests lie). On the Arduino, the digital controller creates a square wave, a signal that switches on and of. This allows the user to regulate the voltage being delivered to the circuit by the Arduino, where on is 5V and off is 0V. You can read more about is on the Arduino PWN tutorial website: http://www.arduino.cc/en/Tutorial/PWM
Equipment:
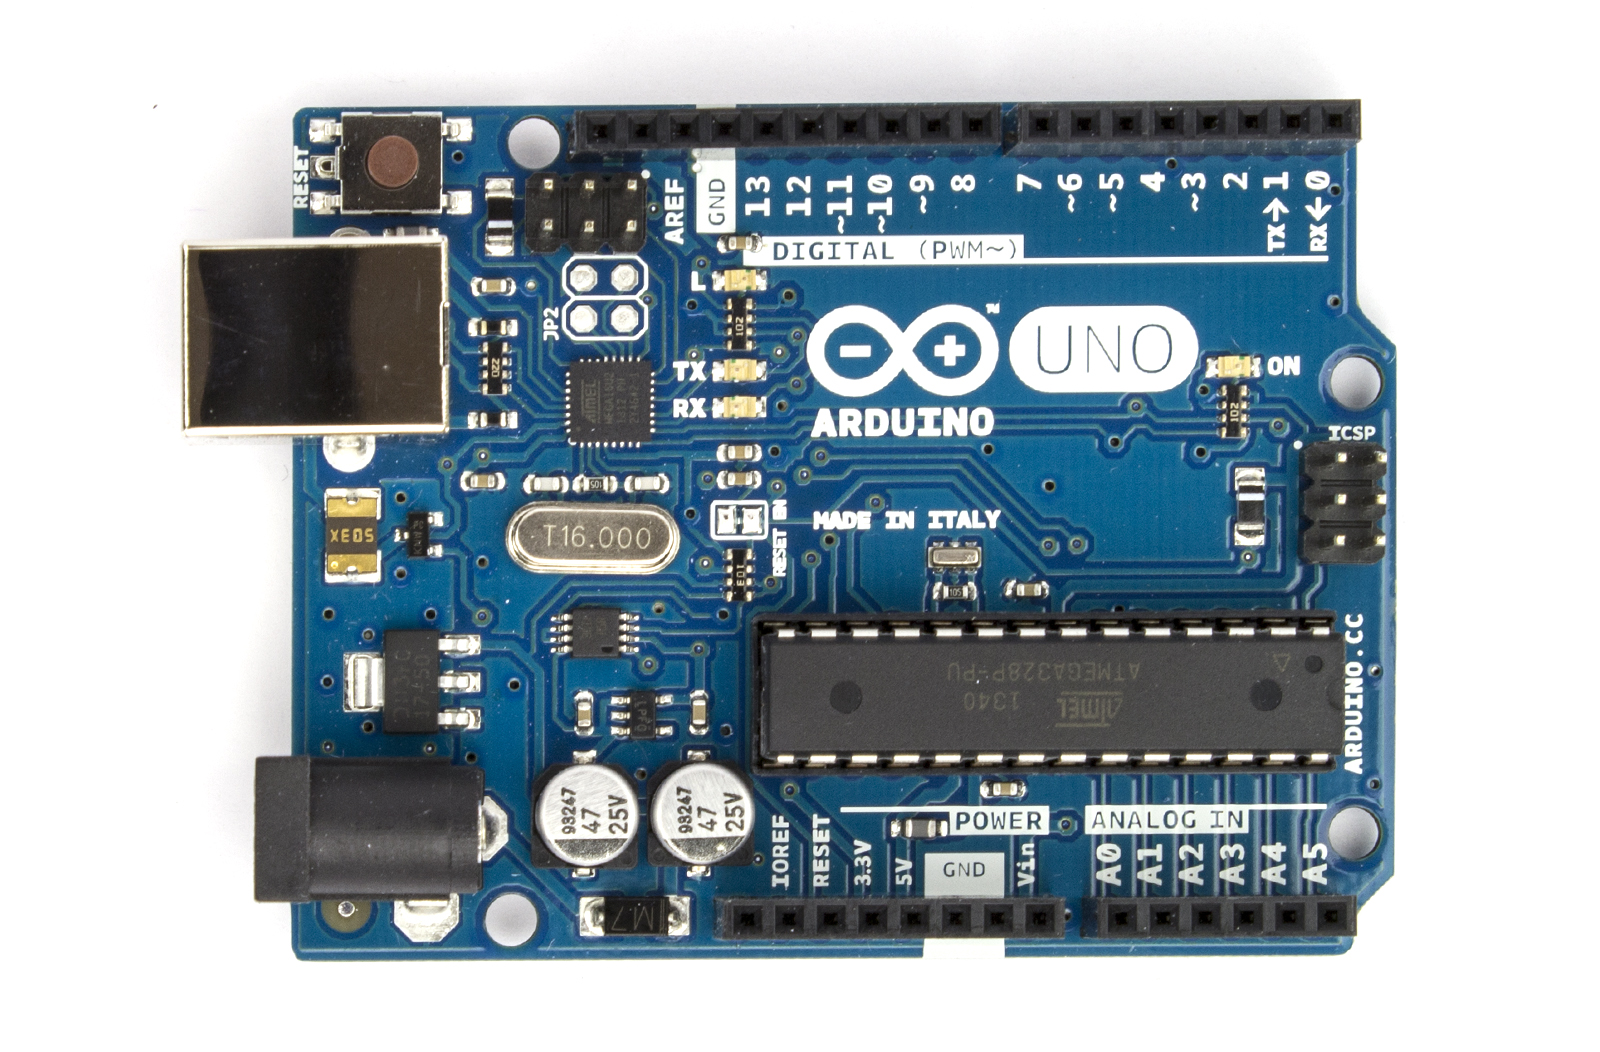
- An Arduino
- A Potentiometer
- 4 Jumper wires
- A 230 Ohm resistor
- An LED

Procedure:
- Set up the circuit as shown

Sample Code:
/******************************************/
const int analogPin = A0;//the analog input pin attach to
const int ledPin = 9;//the led attach to
int inputValue = 0;//variable to store the value coming from sensor
int outputValue = 0;//variable to store the output value
/******************************************/
void setup()
{
}
/******************************************/
void loop()
{
inputValue = analogRead(analogPin);//read the value from the sensor
outputValue = map(inputValue,0,1023,0,255);//Convert from 0-1023 proportional to the number of a number of from 0 to 255
analogWrite(ledPin,outputValue);//turn the led on depend on the output value
}
/*******************************************/
Here is a video of it working:
Thanks for reading and have a great day.